WooCommerce Integration

WooCommerce Integration
Installation of the Critical.net fraud prevention plugin on WooCommerce / WordPress
Installing the Plugin via Plugins / WordPress CMS’s plugin search.
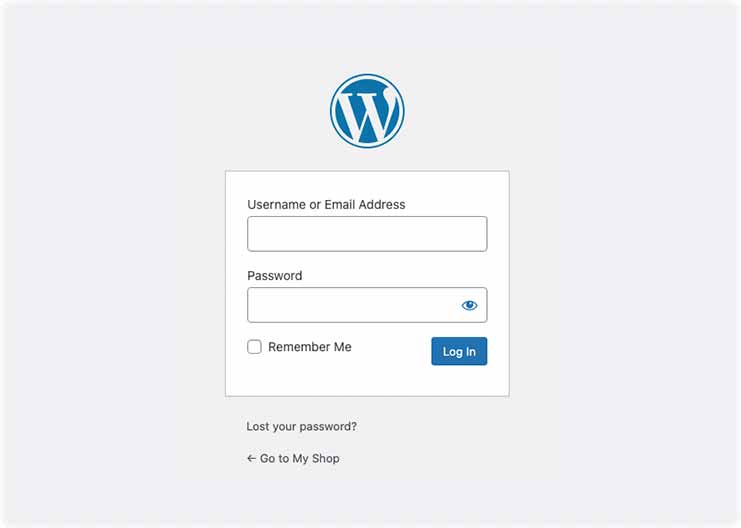
- Log in to the backend of your WordPress with your username and password using the role of administrator.
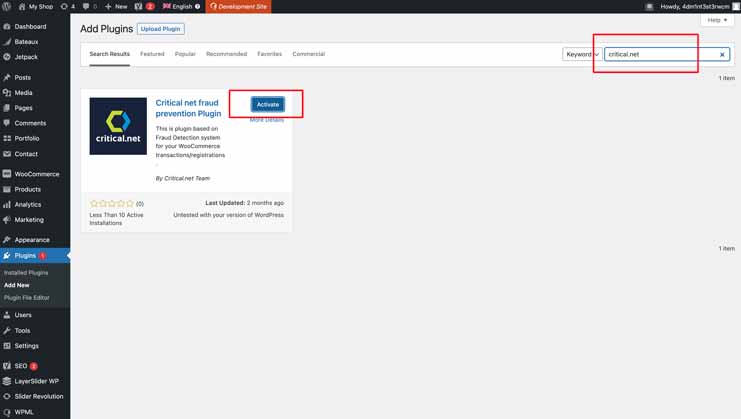
- Go to Plugins > Add new.
- On the search bar under new plugins, type "Critical.net".
- On the results, after searching "Critical.net" click on "Install now".
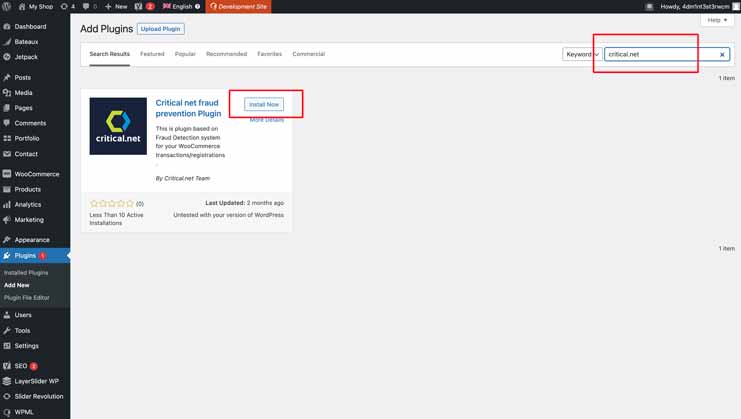
- Once the Plugin is installed, click "Activate".
- Obtain the User License.
Plugin installation via download.
- Download the plugin from the official plugin page on WordPress; it’s aquí.
- Decompress all files from the Plugin.
- Using the FTP connection (filezilla for example), you must enter your server and find the folder inside WordPress "wp_content > plugins"
- Upload the newly decompressed file folder to the first point called "critical-net-fraud-prevention" on your CMS folder on WordPress "wp_content > plugins.
- Log in to the back end of your WordPress with your username and password using your administrator role
- From the menu on the left, go to the "Plugins > Installed plugins" section.
-
From the list of Plugins, identify the "Critical.net fraud prevention" option and click activate.
- Obtain the User License.
Obtain the License Key or User License to activate Critical.net in WooCommerce
- License Key: must be generated from the Critical.net platform.
- If you do not have a Critical.net account: Create a new one.
- If you already have a Critical.net account: Log in to the Critical.net platform, and click on Merchant Systems.
- On the Left Column, click "Merchant Systems".
- Click to create a new one.
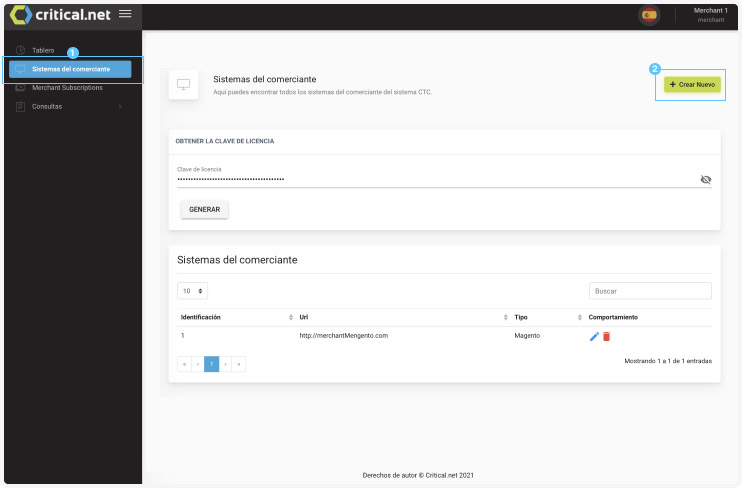
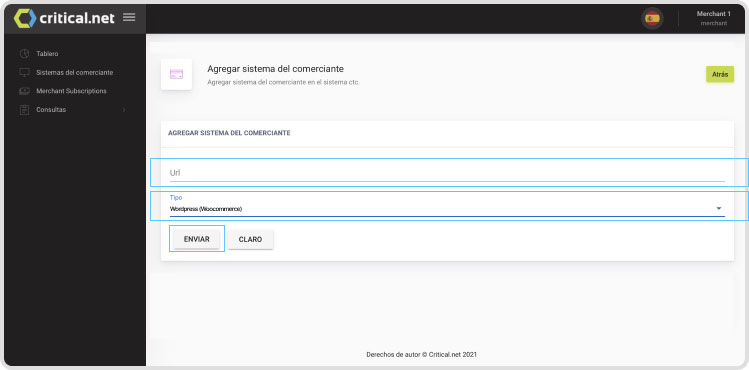
- Add your website URL and type in "Type" = "WordPress (WooCommerce)" then click submit.
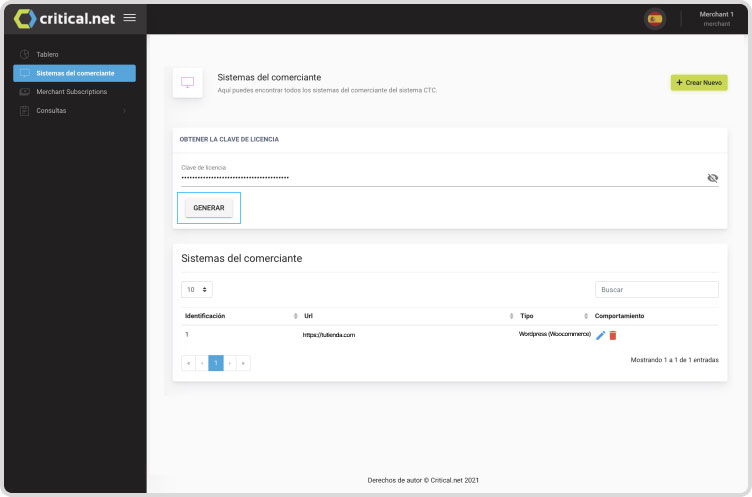
- Click on "Generate License Code".
- On the backend of WordPress: Copy-paste the "License Key" option on the configuration of the CNFP Settings extension.

- Plugin installation is complete.